Escalation Policies
The Policies section (/policies / /escalations) under Escalations allows teams to define multi-tier automated incident routing workflows. When alerts trigger on monitored services, escalation policies ensure notifications reach the right automation bots, on-call engineers, or response teams until acknowledged.
Navigating to Escalation Policies
To view and manage escalation policies:
- In the left navigation sidebar under Escalations, click Policies:
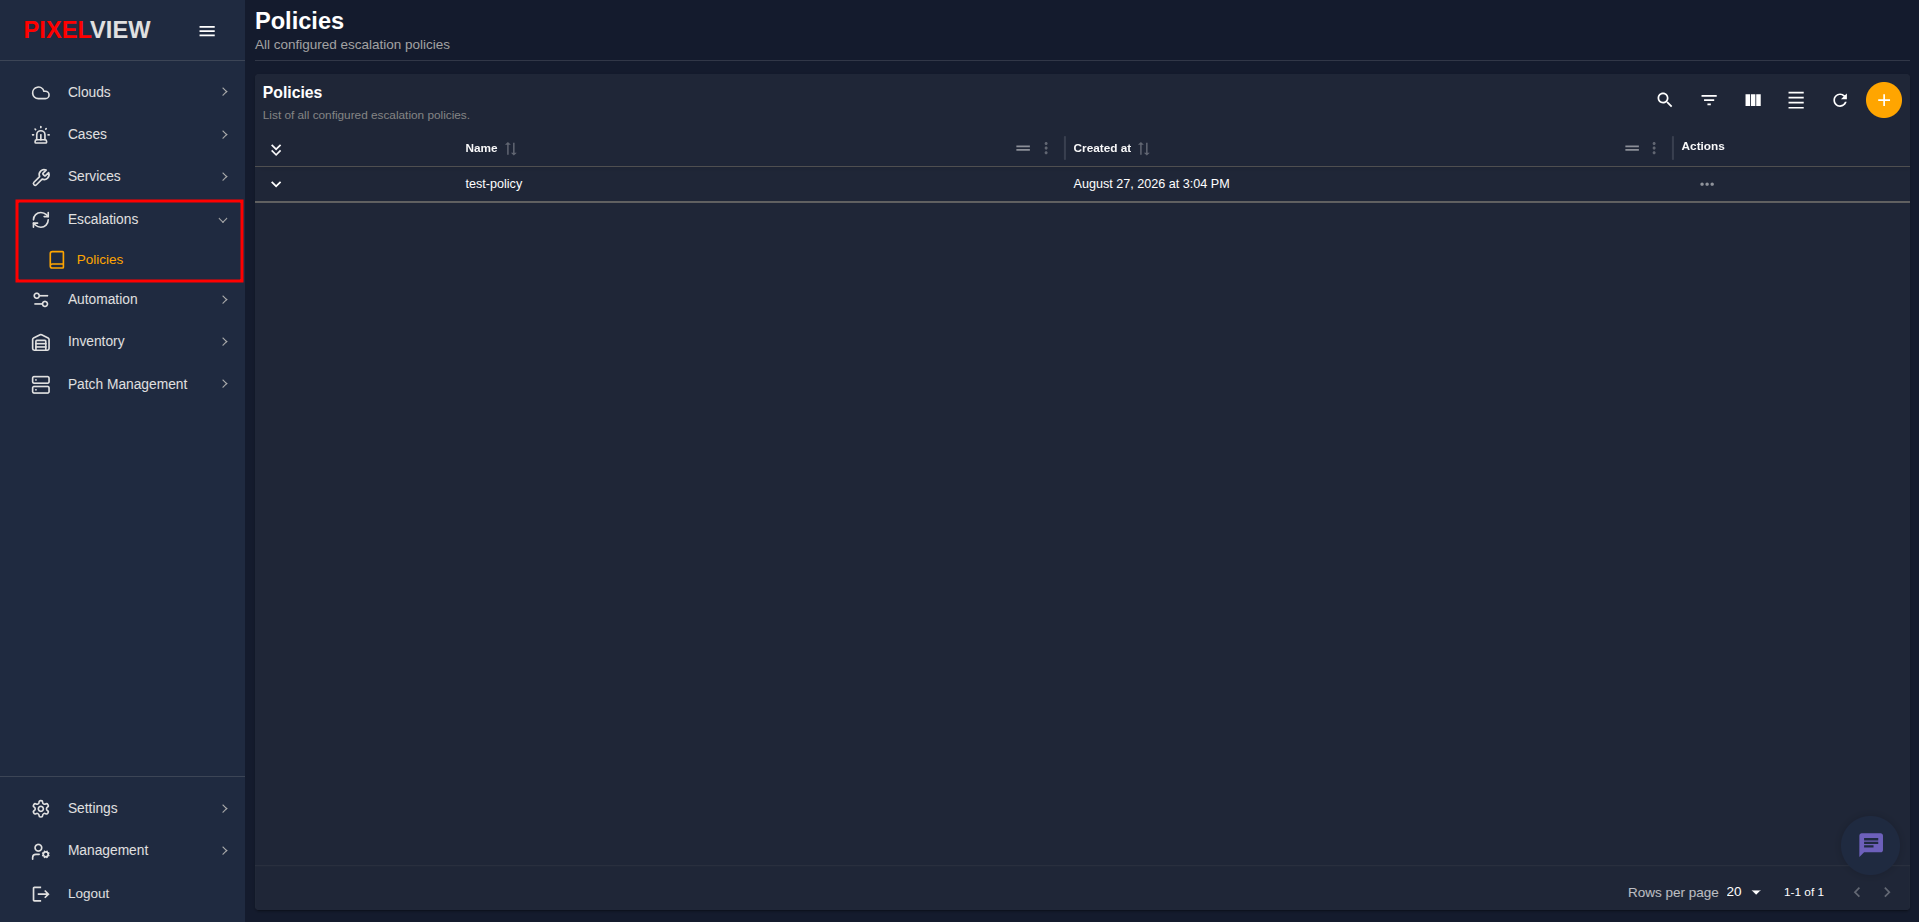
Policies Table Overview
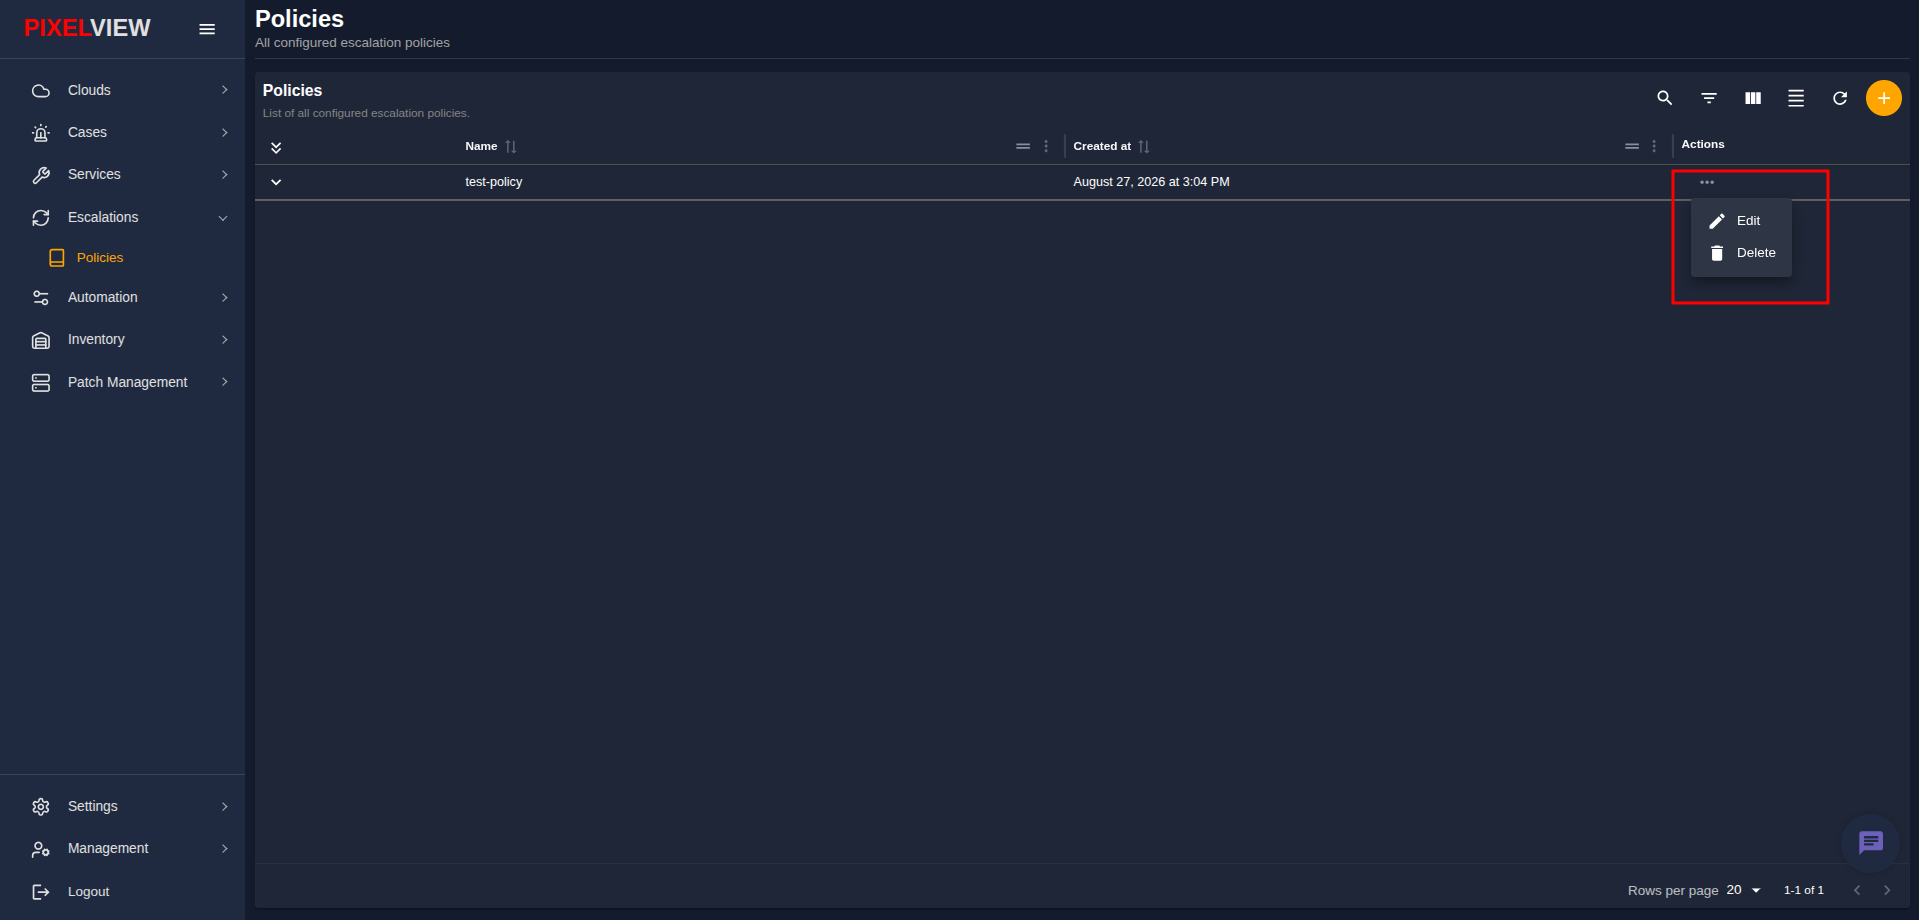
The main table lists all configured escalation policies with 60-second automatic polling:
| Column | Description |
|---|---|
Expand (v) |
Expands the sub-row to reveal which monitored services are actively attached to this policy. |
| Name | Policy display name (e.g., test-policy, prod-critical-policy). |
| Created at | Formatted date and time when the policy was created (e.g., August 27, 2026 at 3:04 PM). |
| Actions | Context menu (...) for editing or deleting the escalation policy. |
Table Toolbar Controls
- Search / Global Filter: Full-text filter across policy names and timestamps.
- Column Filters: Filter records by column criteria.
- Show/Hide Columns: Toggle table column visibility.
- Density Toggle: Switch between compact and comfortable row padding.
- Refresh: Instantly query backend state and refresh policy listings.
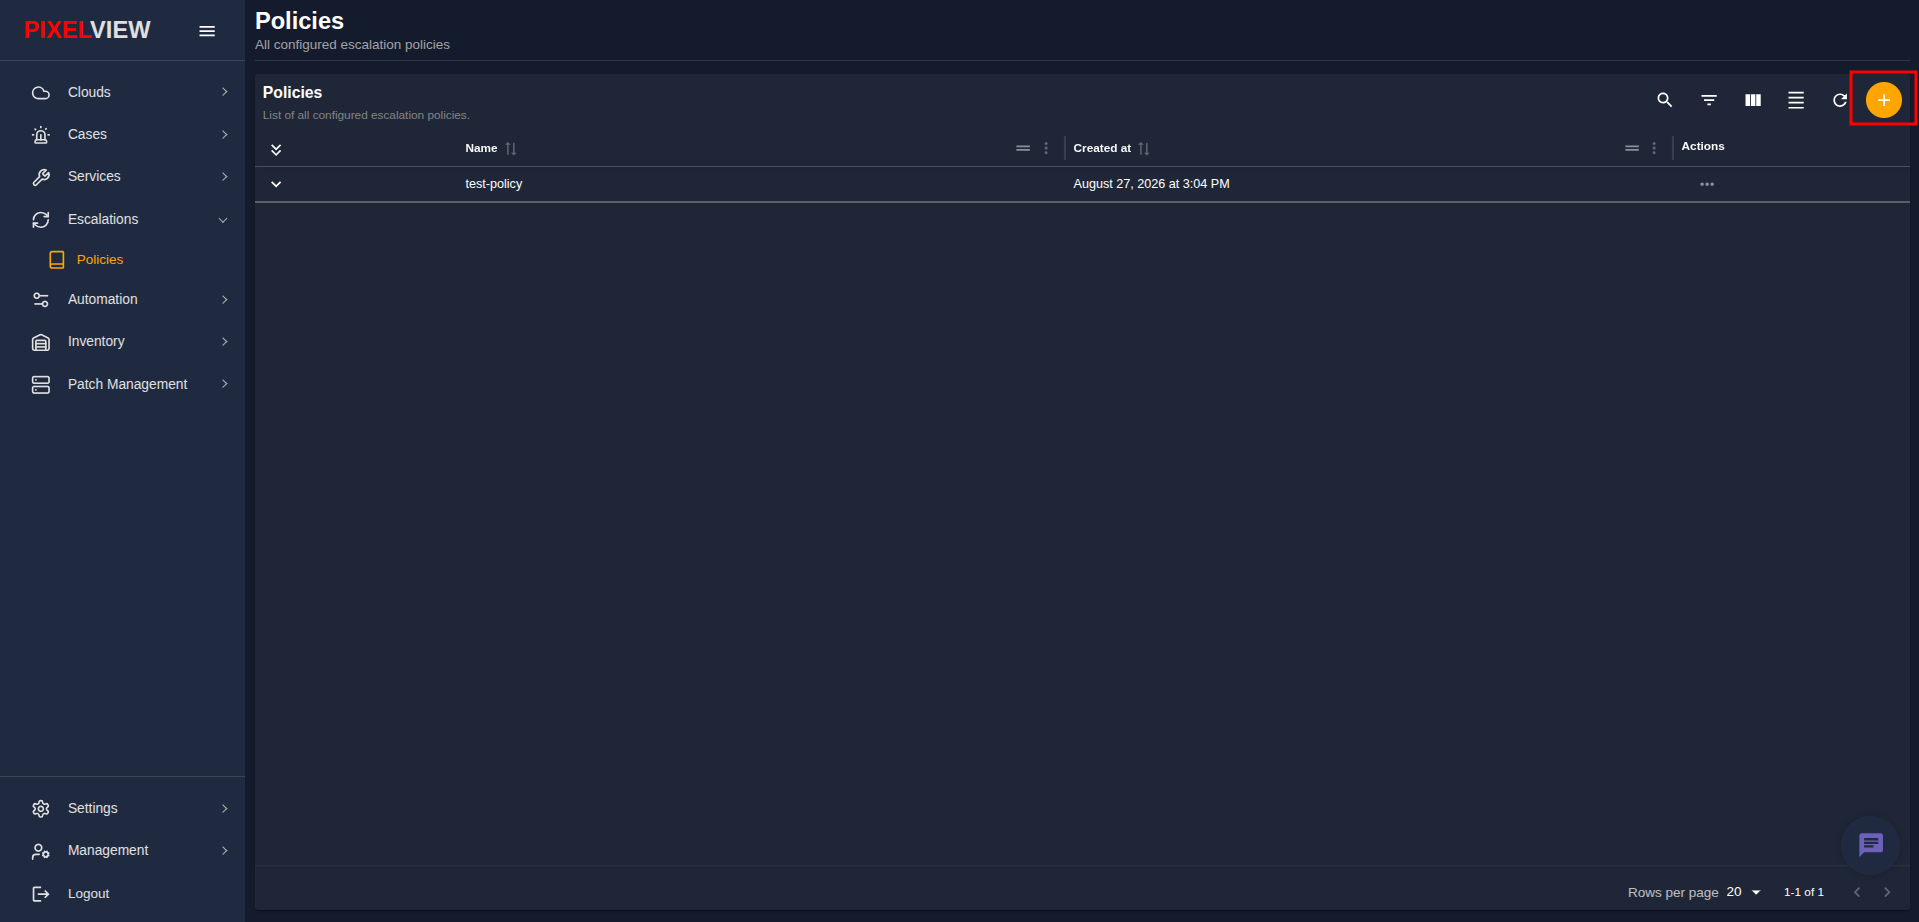
- Add Policy (
+): Launch the policy creation modal.
Inspecting Linked Services
- Click the down chevron (
v) next to any policy name to expand its linked services view:
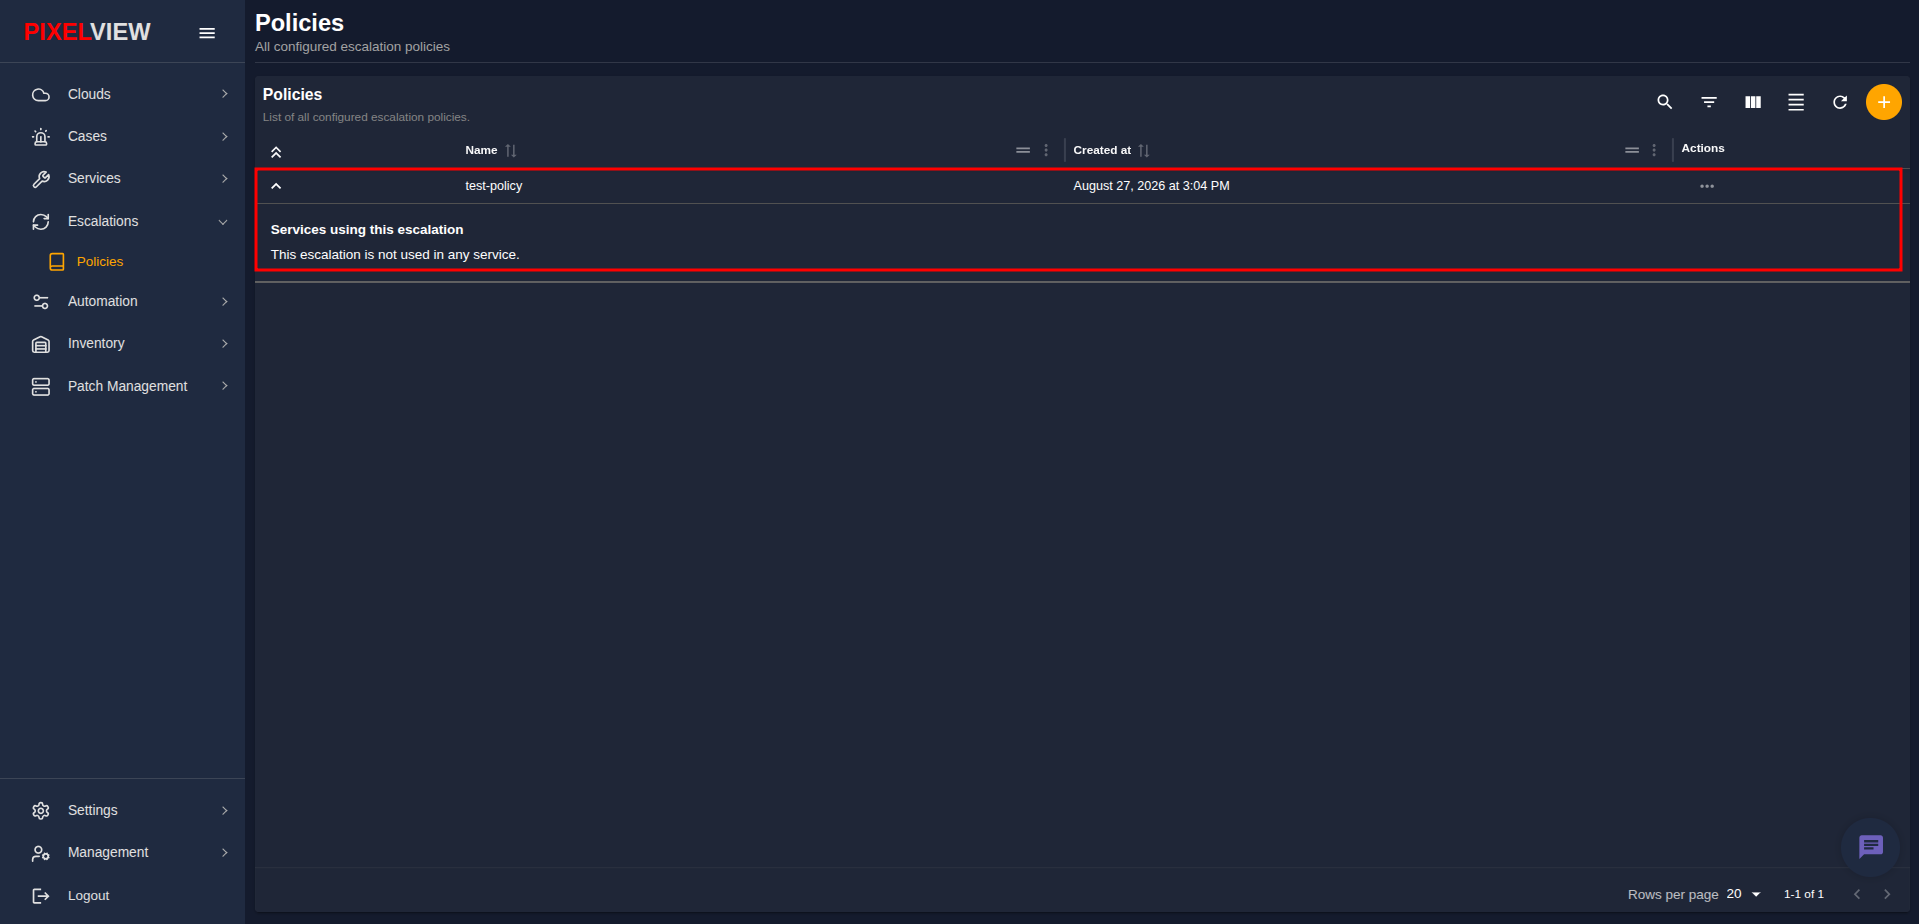
- Services using this escalation:
- Lists all active services, endpoints, and alert channels bound to this escalation policy.
- Displays "This escalation is not used in any service." if the policy is unassigned.
Creating an Escalation Policy
To create a new incident escalation workflow:
- Click the orange
+(Add Policy) button on the table toolbar:
- The Create Escalation Policy dialog will appear:
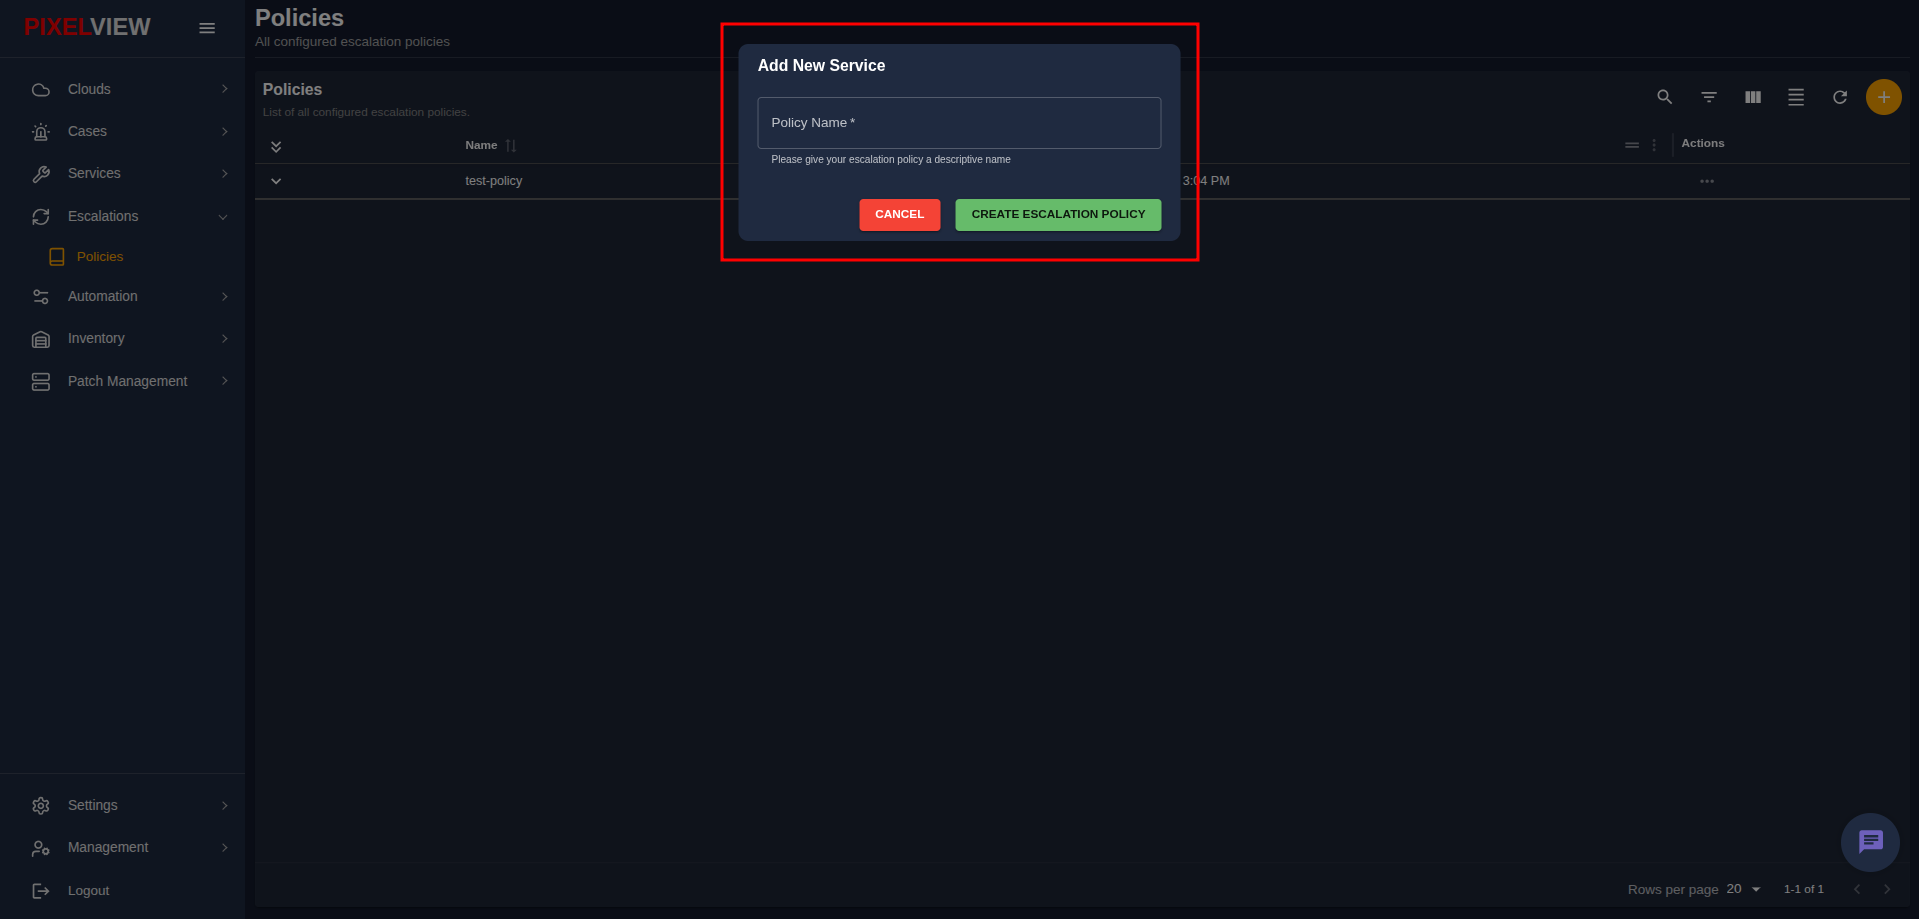
- Policy Name (Required): Enter a descriptive name for the escalation policy (e.g.,
test-policy,tier-1-infrastructure-alert). - Click CREATE ESCALATION POLICY to initialize the policy and transition into the visual flow builder.
Escalation Policy Flow Builder
The Visual Flow Builder allows operators to construct multi-stage, sequential escalation pipelines.
To open the flow builder for an existing policy:
* In the table Actions column (...), click Edit:
- The Escalation Policy Editor opens:
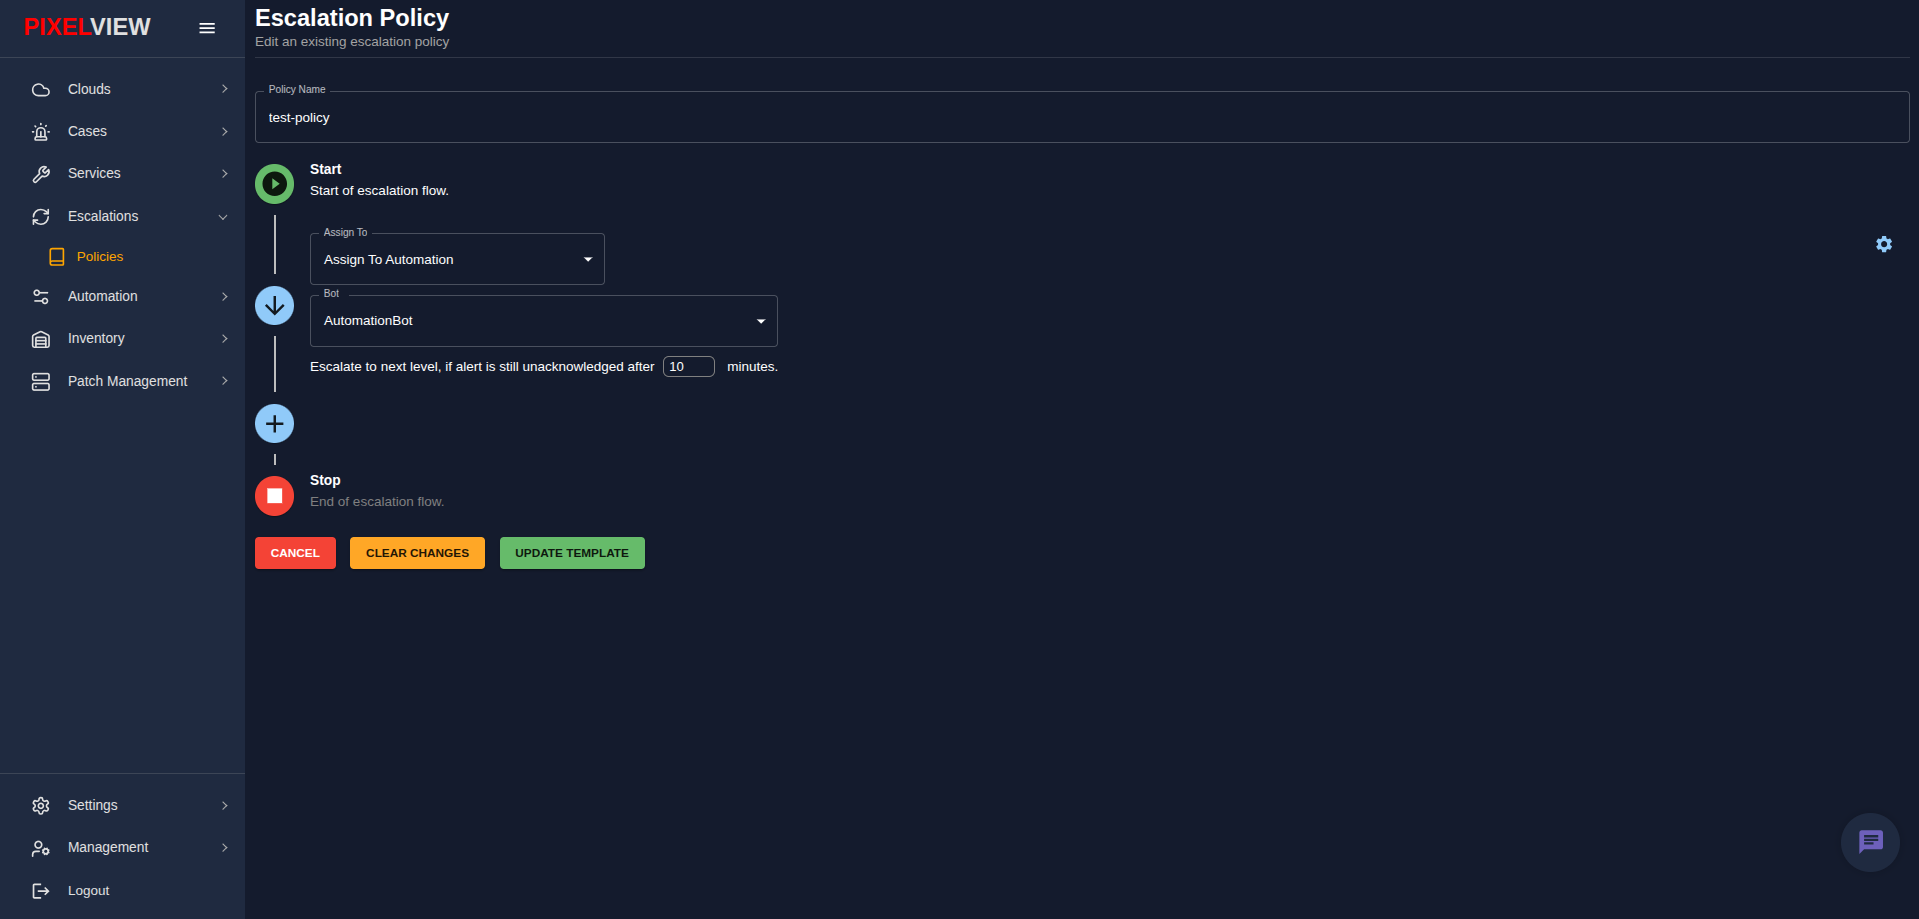
Flow Pipeline Components
- Start Node: Green indicator representing the start of the escalation sequence when an unacknowledged incident triggers.
- Escalation Steps:
- Assign To: Choose the target routing mechanism:
- Assign To Automation: Route the alert directly to an automated remediation bot (e.g., automated diagnostic collector, service restarter, or AI investigation bot).
- Assign To User: Route alert notifications directly to a specific engineer or platform specialist.
- Target Entity Dropdown: Dynamically filters and selects the specific bot or user account matching the assignment type.
- Escalate Timeout: Set timeout threshold in minutes ("Escalate to next level, if alert is still unacknowledged after [ X ] minutes"). Default is 10 minutes.
- Step Settings (Gear Icon): Options to delete or rearrange individual escalation steps.
- Assign To: Choose the target routing mechanism:
- Add Step (
+): Click the blue plus circle between nodes to append a subsequent escalation tier (e.g., escalate from Tier-1 Automation → Primary On-Call Engineer → Lead SRE). - Stop Node: Red indicator representing the termination of the escalation flow.
Saving Changes
- UPDATE TEMPLATE: Persist the configured escalation pipeline to the backend.
- CLEAR CHANGES: Revert unsaved modifications back to the last saved state.
- CANCEL: Exit the flow builder back to the policies table.
Escalation Lifecycle & Acknowledgement Mechanics
Escalation policies ensure critical infrastructure incidents never go unaddressed:
- Initial Trigger: An incoming alert arrives on a service bound to this escalation policy. PixelView creates an open case and immediately triggers Step 1 (Level 0).
- Notification Dispatch: Notifications are dispatched to the assigned user or automation bot via configured alert channels (email, SMS, or outbound webhooks).
- Countdown Timer: A countdown timer equal to the step's
Escalate Timeoutbegins ticking. - Acknowledgment Termination: If an operator opens the incident in Cases and clicks Acknowledge, the escalation timer immediately terminates. No further escalation tiers are notified.
- Automatic Tier Escalation: If the timeout elapses while the incident remains unacknowledged, PixelView automatically advances the incident to Step 2 (Level 1), dispatching high-priority alerts to the next tier in the sequence.
- Stop Node Resolution: If all tiers execute without acknowledgement, the incident reaches the Stop Node, where it remains in high-visibility status in the open cases registry until manual intervention occurs.
Deleting an Escalation Policy
- In the Actions context menu (
...), select Delete. - Confirm the confirmation prompt to permanently remove the escalation policy.
Warning
Before deleting a policy, ensure no active production services are linked to it in the Services using this escalation panel.